I love new projects –
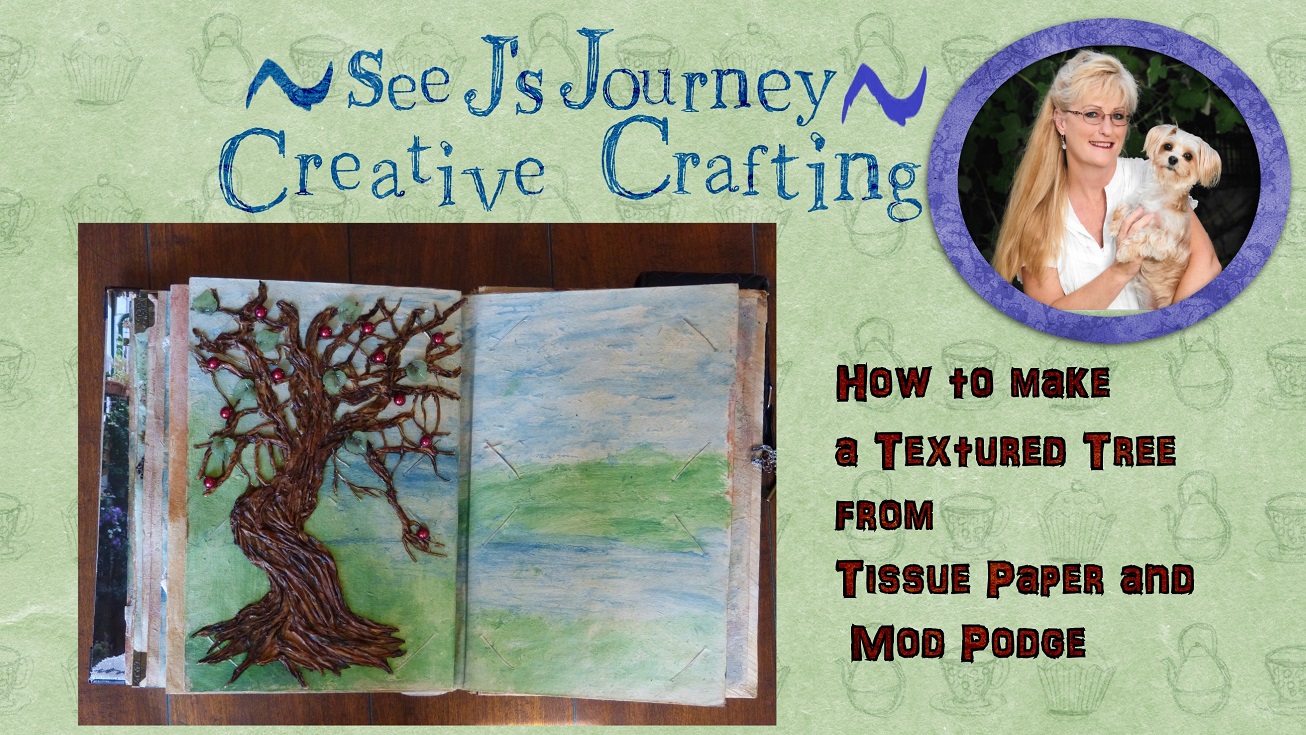
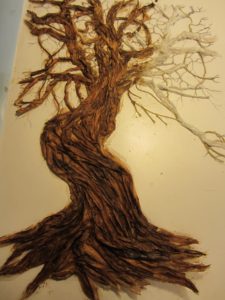
And to tell you the truth, I don’t even know where I came up with this one. I had been watching videos on tissue paper texture and thought it might be cool to make a tree out of tissue paper. I’m a big fan of a visual patterns or some sort of inspiration as a guide for my projects, so what better pattern for a tree than finding one on the internet. I looked for one that I liked of course, but one with lots of ridges and depth that I thought I could replicate.
Supply list –
- Plastic binder cover with clip
- Tissue paper
- Paper wrap from a straw or two
- Thick string
- Mod Podge
- Clear Gesso
- Liquitex varnish
The plastic binder cover with the clip that holds the picture in place worked great. I simple put the photo copy of the tree in the binder and I was ready to roll.
- Rip up pieces of tissue paper.
- Pour some Mod Podge in a container; only pour out a small amount at a time.
- Fold the tissue paper like an accordion; back and forth to get the folds and ridges.
- Use a small paint brush (I liked the one with a point on the end the best) and paint the Mod Podge on the plastic cover one area at a time.
- Saturate the tissue paper with the Mod Podge and work the tissue paper into place. Using the tree pattern as your guide. Try and keep the accordion folds and paint the Mod Podge in the valleys.
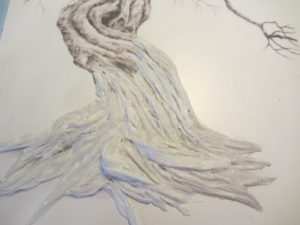
- Use the paper wrap from a straw (twisted) to add a different looking branch. For thinner branches I cut the wrap length wise and twisted it to get the look I wanted.
- I cut small pieces of thick string to make the supper thin branches – it worked great.
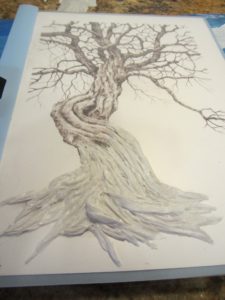
- Paint Gesso on the tree and let dry.
- Paint the tree using distress stains. I used the light ones first and the darker one on top.
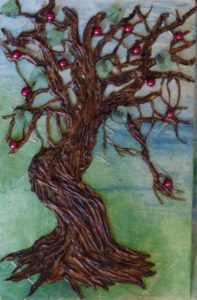
I couldn’t wait to see how the stain would look on the tree, so I started before the tree was even completed. After a section of the tissue paper dried, I used the clear transparent Gesso. Let that dry and then I used the Tim Holz Distress stains.
I used the Spays (but painted them on): Linen, Vintage photo and Walnut were the colors used. Mostly I used the Walnut but started with the other colors to add dimension and depth and went back over the tree with the Walnut color.
- I use the Liquitex Professional Matte Varnish at the end to seal and protect it. I love this product. It is a little pricey – if you buy it with a coupon at Michaels it’s not too bad – but worth it.
- After it dried a bit, I used a putting knife and removed the tree from the plastic. Any of the varnish that was remaining on the sides I just rolled it back on the tree. It dries clear, so depending on what you are doing with it you might take a small sharp pair of scissors and remove more of the varnish that is still visible.
Helpful hint:
I thought the plastic knife, with the serrated edge was helpful to make the ridges the grooves the way I wanted them.
For thicker branches, I twisted the tissue paper using longer piece. I also use the paper from a straw for a slightly different look.
Take your time; this is a multi day project. But I found myself wanting to work on it every chance I had.
Next you have to decide on the back ground. That was the hard part.
E-mail at seejsdesigs@gmail.com for two free tree patterns.