See Js Fairy Doors
Steps to make a fairy door:
Step 1
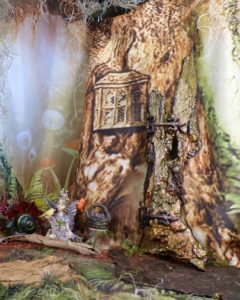
Go for a nature walk and pick bark that speaks to you. Look at the size, shape and look for knots and hole in the bark that could be used as a porthole. I especially love gnarled and knotted bark. Wash all bark and set in the sun to dry.
Step 2
Use liquid Sculpey polymer clay and silicone molds to make hinges, keyholes and medieval door rivets. Bake clay in a dedicated oven outside for 8-10 minutes at 275 degrees. Try not to let them come to smoke point, and be careful not to breathe the smoke if it does. Or you can buy them. I do a little of both.
Step 3
Glue the hinges, keyhole and rivets to your fairy door with Beacon Power –Tac glue. I love the stuff, low odor, and a strong hold. Let dry.
Step 4
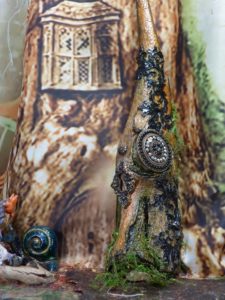
For the door knob I use a fancy thumbtack. I have a couple of different patterns and lengths that I use. Use some muscle and twist or push the thumbtack where a door knob should be on your fairy door.
Step 5
Coat the entire door with a mixture of Titebond III Ultimate Wood Glue and water. You want it thick but spreadable and thin enough to easily paint it with a paint brush over all hinges, keyholes, rivets and door knobs. Do not let the glue pool in areas. Take a dry bush and go over the areas where the glue is too thick. Sometimes at the drying stage I spray areas with a fine mist of water and go back over it with a dry brush to avoid pooling of the glue. Let dry.
Step 6
Paint your fairy door. I love Recollections paint; I use the orange and olive colors all the time.
Step 7
Highlight areas with Ranger/Tim Holtz Distress Paint. I use Transited Brass and Antique Bronze a lot.
Step 8
Brush a little Art alchemy Metallique wax in Rich Copper and then Aged Brass on the hinges, keyhole, door knob and rivets.
Step 9
Varnish your fairy door outside. I have been using Winsor Artists’ Gloss Varnish lately. I can’t say I love the smell, so do use it outside.
Step 10
Use a saw tooth picture hanger and glue it on the back of your fairy door. Let dry.
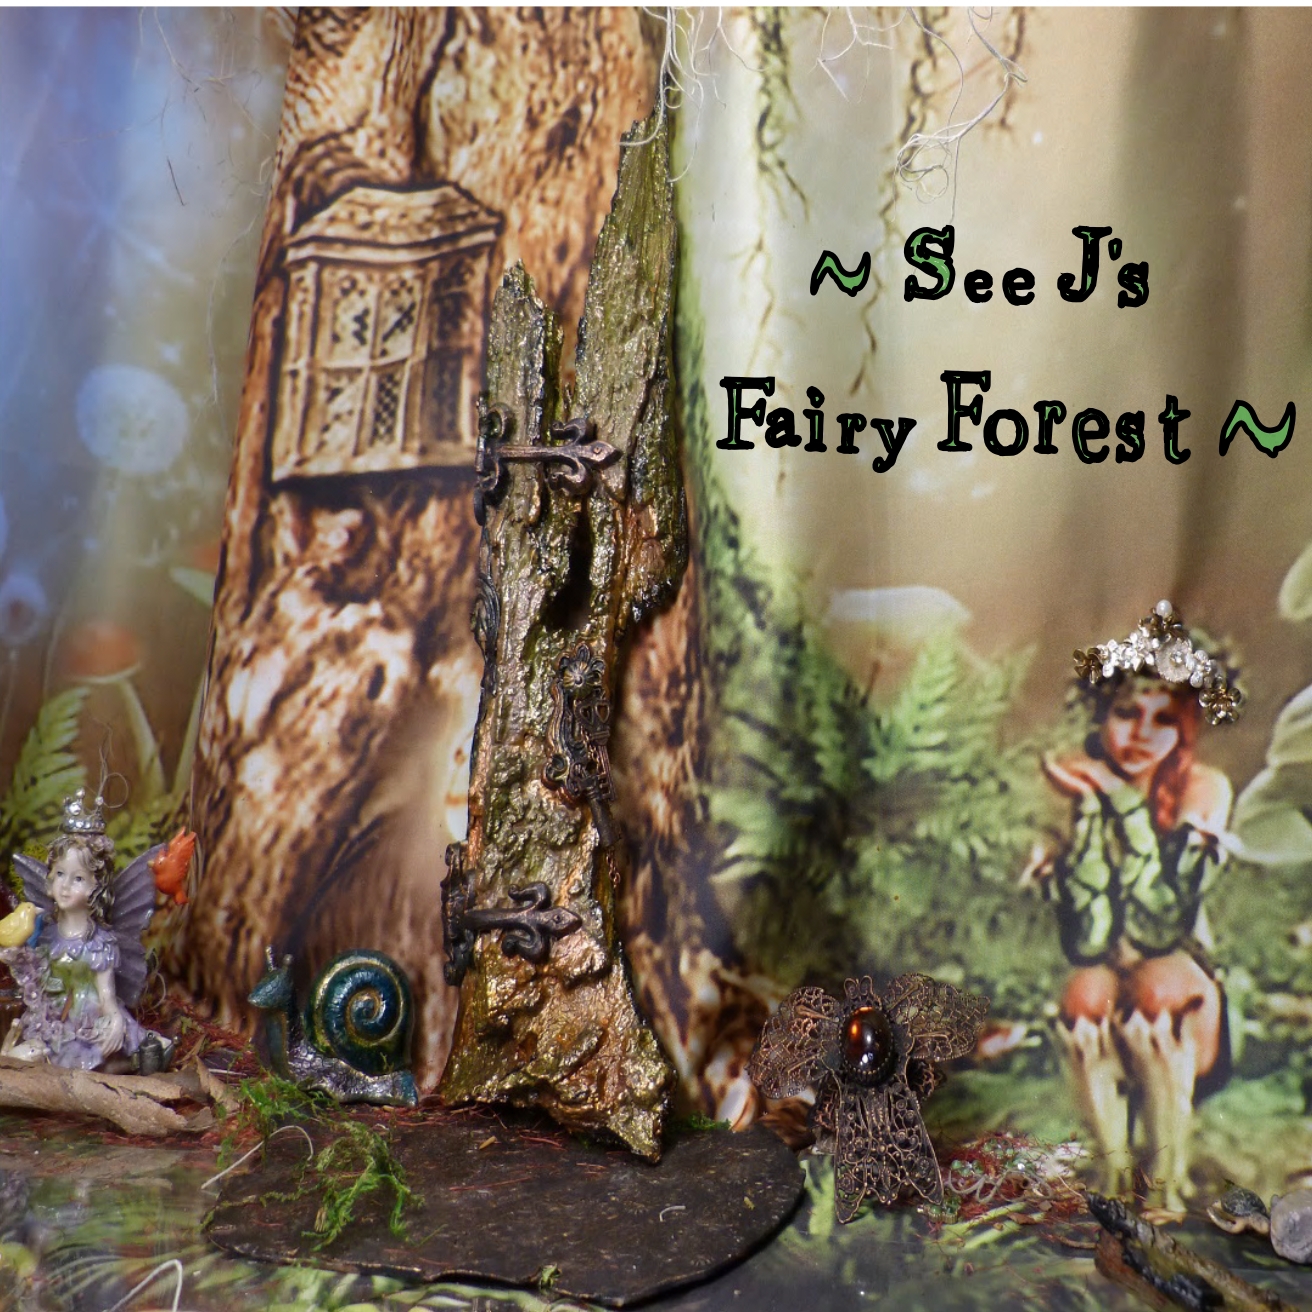
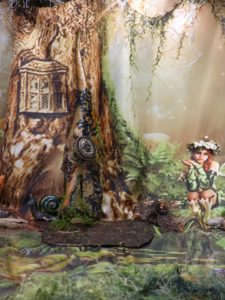
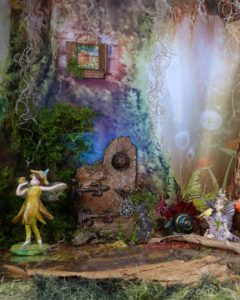
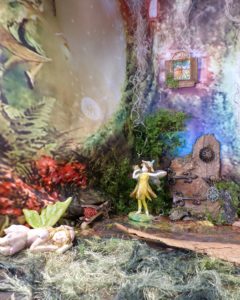
Enjoy your new fairy door directly on a tree, wall or fairy house. You can also go to the next project and make a door frame from paper Mache or a cardboard egg carton.
I do all my mixed media projects basically the same way. Check out some of my other mixed media projects:
http://www.seejsjourney.com/steampunk-mixed-media/
http://www.seejsjourney.com/steampunk-altered-gift-card-box-for-fathers-day/
http://www.seejsjourney.com/mixed-media-steampunk-gift-box/