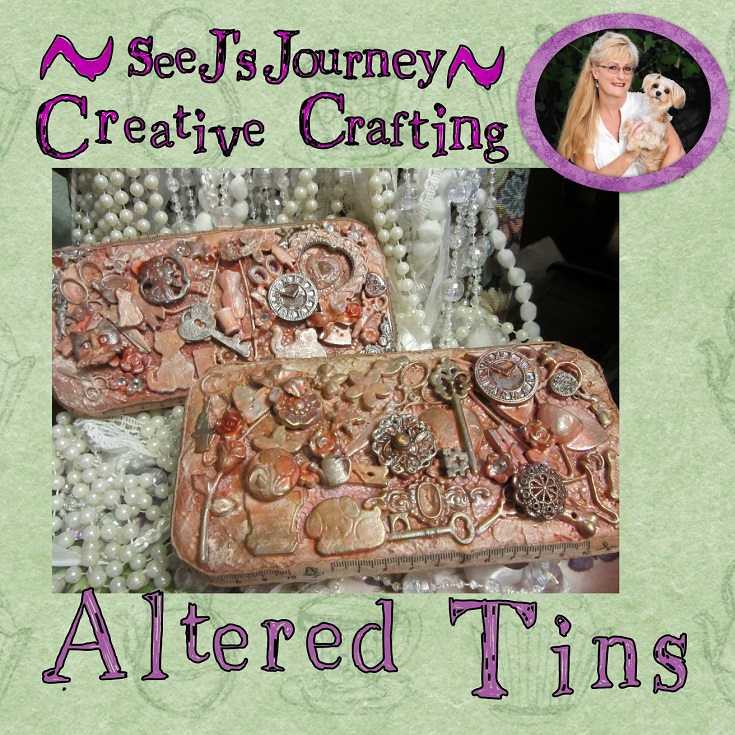
Mixed Media Altered Tins using Buttons and Alcohol inks (and other fun products)
I love new projects, and altered tins is my new exhilarating activity. I love projects that there is no right or wrong, anything goes, the skies the limit – well lets just stick with you can be as creative as you let yourself be altering tins. Love it!
Some the stuff you will need (but not limited to):
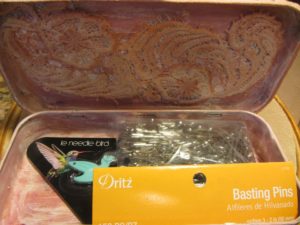
- A tin (start collecting now – you can’t just stop at one) Altoids tins are great in all sizes; these tins are from an airplane flight that gave you stuff in the tins.
- Glue
- A brush to apply the glue if you choose.
- Clear Gesso
- Sponge brush to apply the Gesso
- Ranger -Tim Holtz- Spray Stain (Festive Berries, ) https://www.michaels.com/search?q=alcohol%20inks%20tim%20holta
- Ranger -Tim Holtz – Distress paint (Brushed Pewter )
- All Purpose Ink from TSC Designs http://stores.teacherstamp.com/inks/
- Art Alchemy Metallique Brushed Iron
- Water
- Liquitex Varnish – gloss
- Old jewelry pieces
- Buttons from Sewing, garden and animal theme
- Anything and everything – remember anything goes!
First, I painted the tins inside and out with Craft Smart acrylic paint that I bought at Michael’s. Add Gesso to the paint as you streak it on the tins. The Gesso prevents the paint from drying to quick and I love how it glides on. I highly recommend this technique with any acrylic paint project that you are going to use Gesso on anyway.
The colors of paints I used to were:
- Pink
- Brown
- White
- red
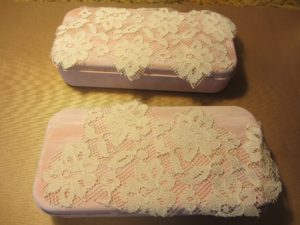
I had some lace that I cut up for some textures for the top. Glued it down with white glue mixed with water to thin it out and make it easier to work with.
Tip: I have a little baby food jar that I keep my thinned out glue. It is easy to add more glue or more water to and easy to mix – it is a perfect size.
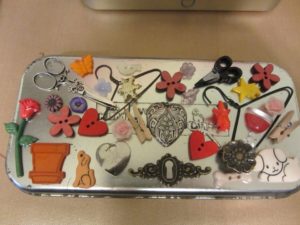
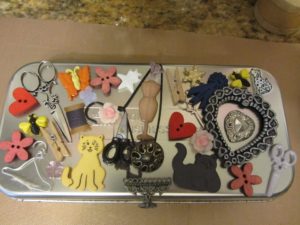
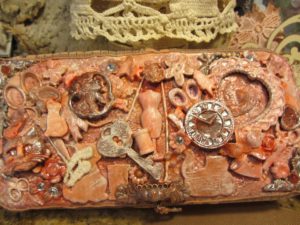
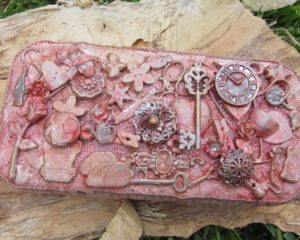
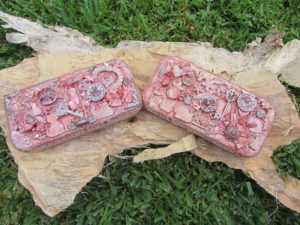
Designing the tops is next. You can only be as creative as you let yourself be with your altered tins. Have fun, look around your house for interesting items. Old jewelry is the best. Old ear rings that have lots of dangling pieces worked out well. On these tins, I used buttons that I had collected. The tins have a sewing theme because they hold large safety pins for quilting projects. I have always held my pin in one and when a girlfriend asked to borrow mine, I got the idea to jazz them both up and give one as part of her birthday gift. If you notice on one of the tins it has three cats, two dogs and a bird – that’s not my zoo!
Tip: When the layout of the top is done, I often will take a picture so I can refer back to the layout if it is complicated, or if I just need to look back to see the design layout. Sometime the individual pieces can simple be lifted up and glued back down.
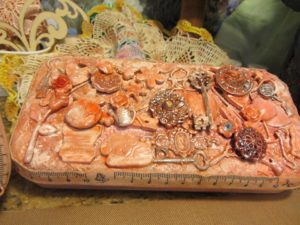
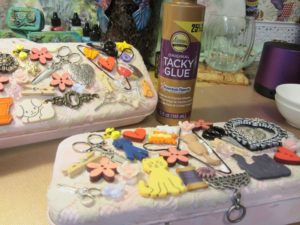
I used Aleene’s Tacky Glue to glue the buttons in place. Put an extra layer of thinned out glue on top and around each piece to make sure all the pieces stay in place and let dry. Sponge clear Gesso on top of everything again and let dry.
Tip: I love using a spray can lid for applying gesso or varnish to my projects. The sponge brush can be pushed up and down between the inter circle and the inside of the lid to put product on the sponge. But, you can always twist it to take some of the product off the sponge. The sponge will stand up in the lid, and it’s just handy thing to use – a spray can lid – go figure.
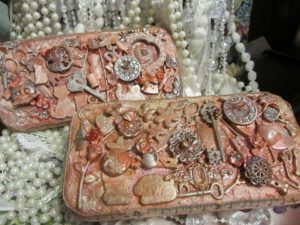
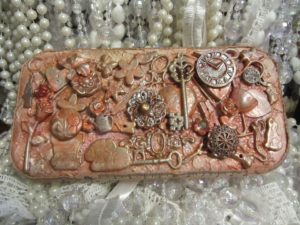
After the Gesso is dry paint with acrylic paint. I painted white Gesso to the background. I added a few more buttons and embellishments and some corner pieces. When I was happy (and I love to be happy), I highlighted areas with Tim Holtz Distress Paint in Brushed Pewter until I was happy – again.
Add alcohol inks randomly on your tin until you’re happy. You have to be happy!
I used the burgundy All Purpose Ink from TSC Designs http://stores.teacherstamp.com/inks/ and the Tim Holtz Spray Stain in Festive Berries.
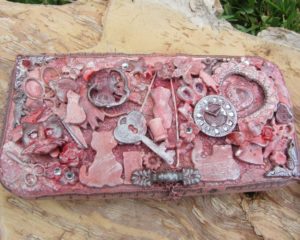
Shabby chic is my thing – so, I thought what better project to use my shabby chic trick.
Trick to shabby chic: Use non sanded grout and mix with water to a thin paste. Check out my videos on my other shabby chic projects.
Use quick short strokes across the top to create a streaked fabulous shabby look.
A couple of finishing touches to complete our pin keepers. Measuring tape trim – how perfect is that? Right! And Art Alchemy Metallique Brushed Iron rubbed on randomly finishes our altered tins.
My new favorite varnish is the Liquitex varnish I get at Michaels – Love it!
The paint I used dried with a matte finish which I didn’t care for so I varnished the inside and finished top with glossy varnish.
https://www.michaels.com/liquitex-gloss-varnish/MD002517S.html?dwvar_MD002517S_size=16%20oz#q=varnish&start=7 (do used your coupon on this one. I love it so much; I have it in Matte and glossy finish.

Stop by again and see where SeeJsjourney goes next. Because life is a journey we make together.