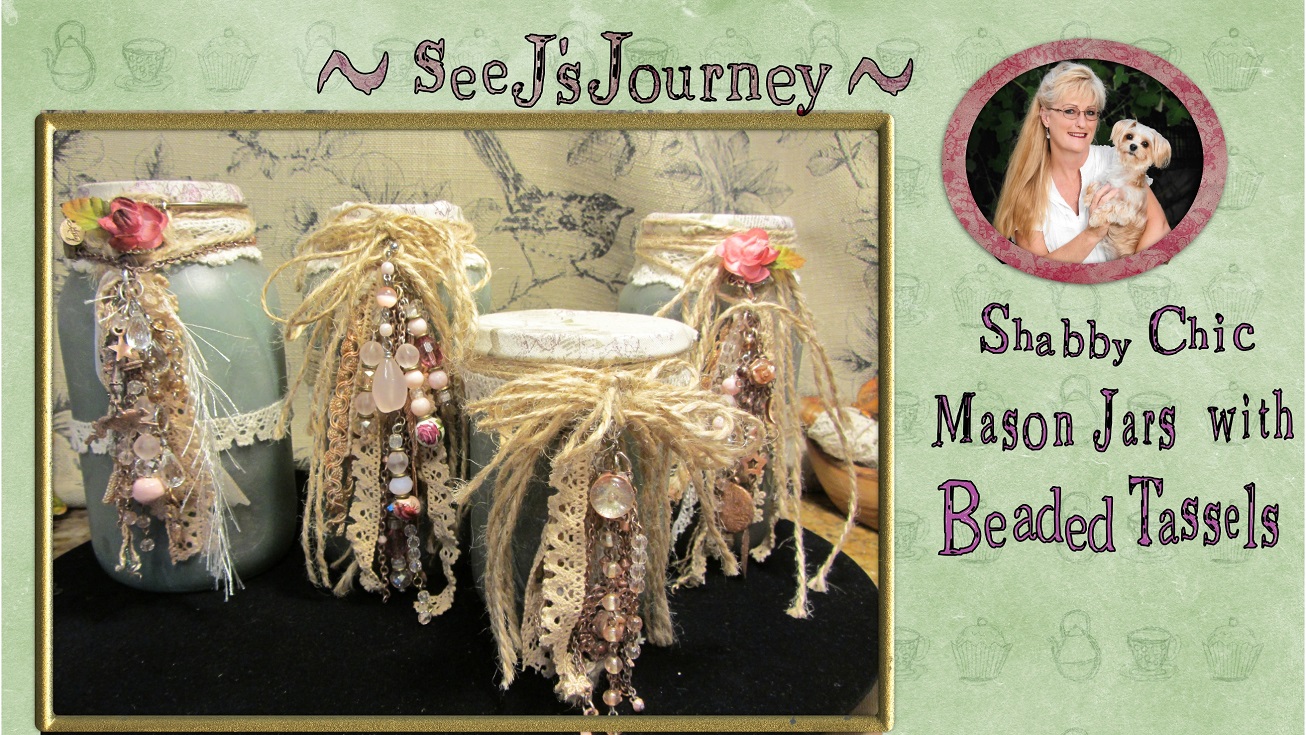
Shabby Chic Beaded and Lace Tassels for Mason Jars
I had some extra fabric from my potting shed stool I made, so I decided to use that fabric to cover my mason jars. First, I found something round that the opening was larger than my mason jars. . I like to use pinking sheers to cut the circles.
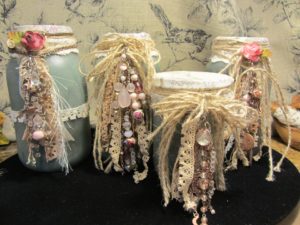
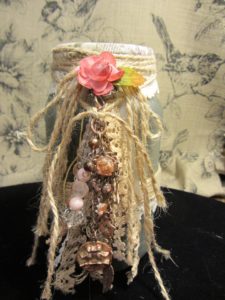
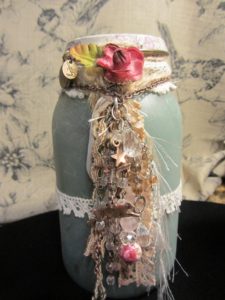
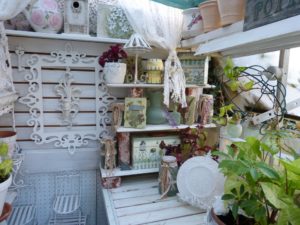
Using jute to secure the cloth tops and lace to embellish the mason jars a bite gives it an extra shabby chic look.
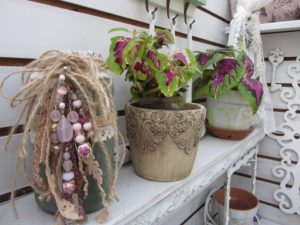
I still decided it needed a bit more. The lace tassels were made from different trims and such by sewing them together and securing them with a bead topper. They were cute, but still not cute enough so I added beaded tassels for the finishing touches. Now they are super cute. This is how I made the beaded tassels for my mason jars that go in my potting shed.
First, I gathered up all of my trinkets, chains and beads that I wanted to use. With a sponge brush a coat of clear Gesso was applied before painting each treasure with Tsukneko All Purpose Ink. I used Ash Rose, mostly Rose Gold and not much of the Champagne Mist.
Using chains is a great way to attach beads and trinkets because you can create the tassels as you go. Add to the chain by using jewelry jump rings. Headpins are a great way to add a string of fancy beads to your tassel.
Headpins are like a long pin with a stopper of some kind at one end, also known as the head to prevent the beads from coming off the pin. They now come with fancy gems on the ends or just plain. I prefer the fancy type. They even come in different colors, metals and alloys. When making jewelry, headpins are often used to create dangling earring. I like them because they can be used to create beaded charm strings very easily by placing beads on the headpin and it’s easy to make a loop at the end. Before closing the loop, you can attach it to the chain or close it completely and use a jump ring.
Use headpins to create beaded stings to add to your tassels.
- Place your beads and trinkets of charms onto the headpin.
- Make sure there is enough wire above the bead to create a loop.
- Use a set of round nose pliers and bend the wire at a right angle.
- Gripping the wire in your round nose pliers, start to rotate the pliers towards the bend in the wire that you have already made, creating a half loop.
- Adjust your pliers as you continue to rotate them and bend the wire.
- Take a set of flat nosed pliers to close the loop.
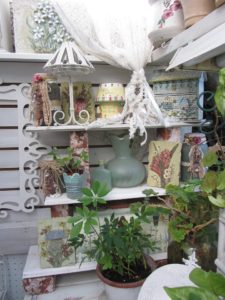
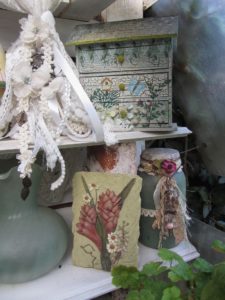
You might also like= Shabby Chic Decorated Mason Jars – for my Potting Shed Part 1


some other shabby chic videos you might like =
http://www.seejsjourney.com/inspiration-for-how-to-make-a-shabby-chic-clock/
http://www.seejsjourney.com/cup-cake-altered-tin-pin-cushion/
http://www.seejsjourney.com/krylon-sea-foam-green/